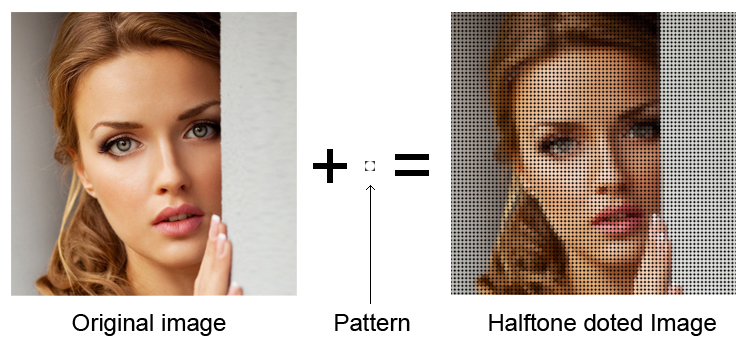
10 Simple Steps to Create Halftone Doted Image in Photoshop.
----------------------------------------------Demo----------------------------------------------

------------------------------------------- Original Image -------------------------------------

------------------------------------------- Pattern Image --------------------------------------

------------------------------------------- Resul Image ----------------------------------------

------------------------------------------- 10 Simple Steps ------------------------------------
1, Open a Image in Photoshop Docoments.
2, Duplicate the image layer in Layer Palate.
3, Create a empty Layer below the duplcate layer Fill the black color to the Empty Layer.
4, Select the duplicate layer and Go to the top menu,
select Filter - Pixelate - Mosaic and set the cell size 10.
5, create a new file with=10xp height=10px for halftone dot pattern.
6, select elipse marquee tool create circle seletion and deselect the selection fill black color.
7, select Edit - define pattern type pattern name and ok.
8, Reopen the first image file and select duplcate layer.
9, Add layer mask to the duplicate layer.
10 fil the mask layer by pattern.


